


The week before last, I showed you my porch makeover as part of the American Crafter competition (yay first place!) and I promised you a tutorial for the hanging mason jar and recycled glass vases. Today is the day I do just that! It's really quite simple and added the perfect (and free!) wall decoration to my porch! And, the mason jars are the perfect size for a vertical herb garden.

Literally, I picked them up off the garage floor and used 'em as is.
My other supplies included: glass bottle/mason jar, drill/small drill bit, floral wire, jute and highlighter/ pen. (Optional: empty frame to display vase in)
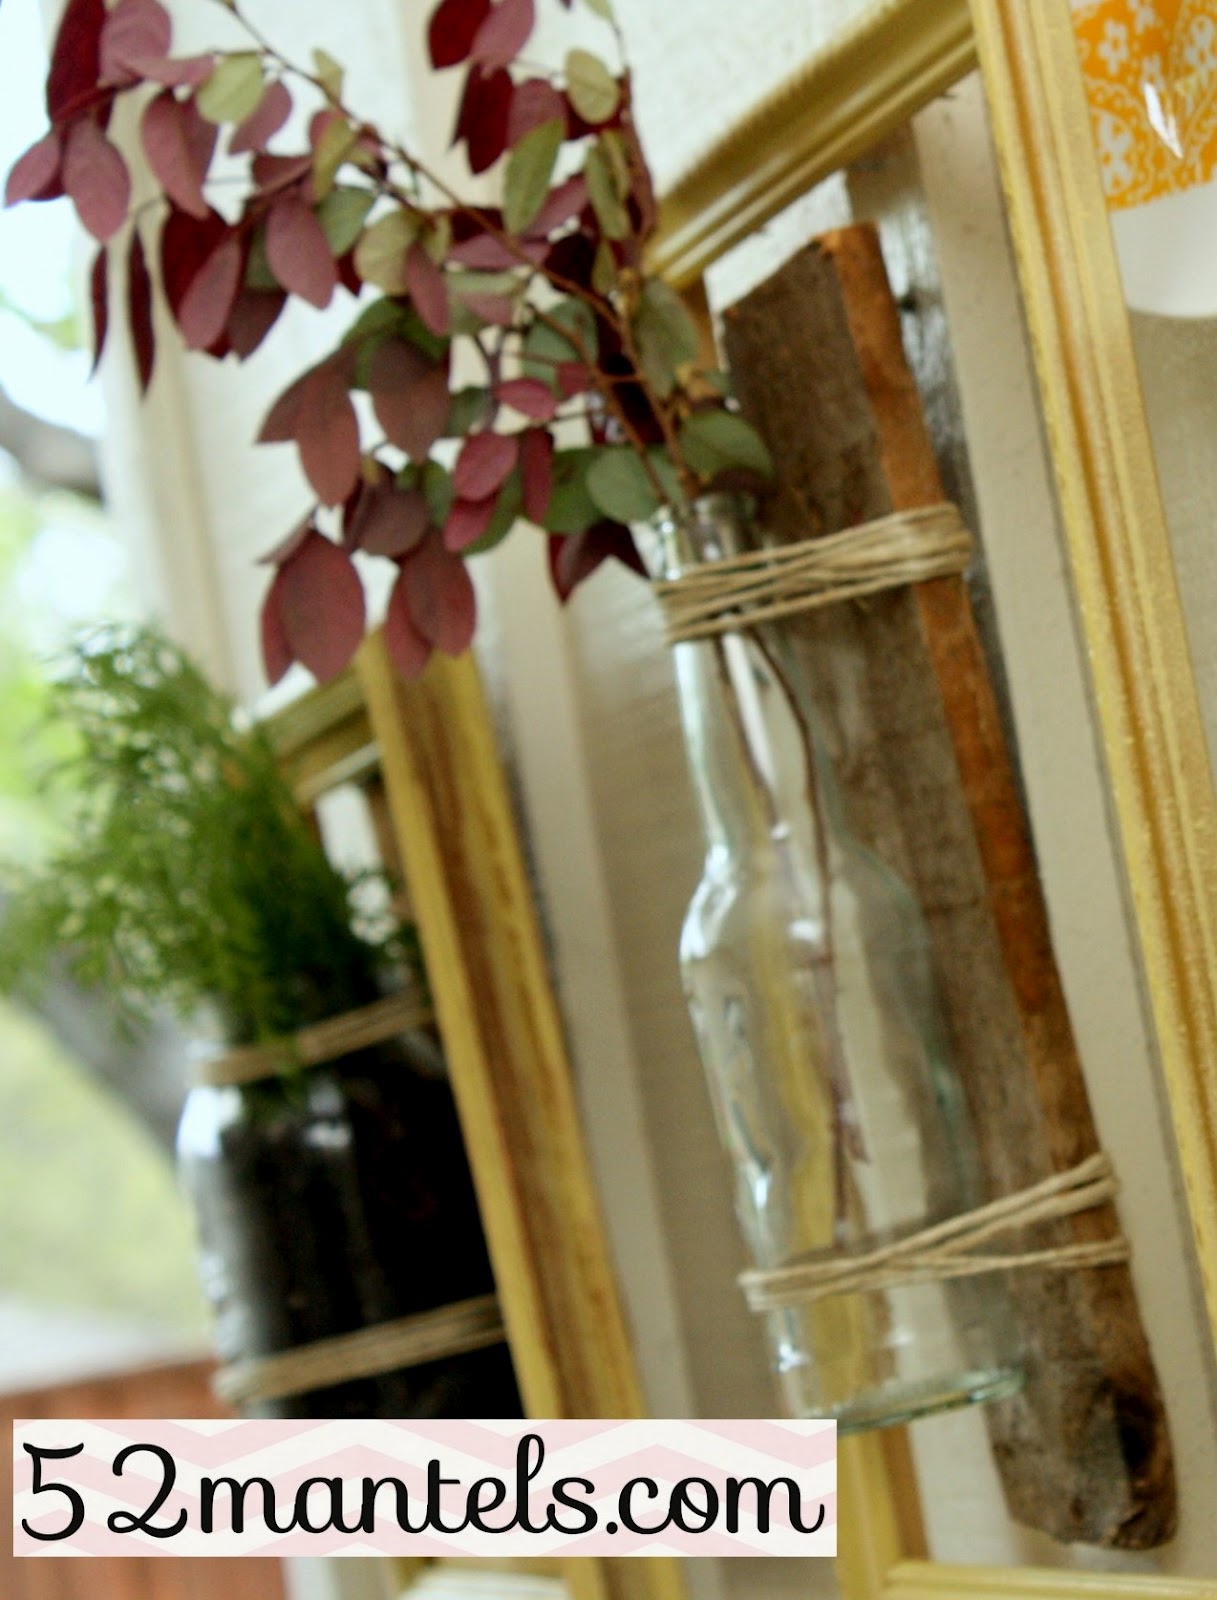
The first thing I did was position my glass bottle on the wood scrap and used a highlighter to make two marks on either side of the bottle's neck. I then drilled a hole on each marking. To attach my bottle, I used the floral wire and wrapped it several times around the neck and then wrapped the wire through the two drilled holes. When the bottle was securely attached, I wrapped a length of jute around the bottle and wood scrap, tying in the back. I also wrapped jute around the bottom of my bottle, making it appear as if the bottle is simply tied to the wood scrap with jute.
The same process was done with the mason jars, making sure the drilled holes were beneath the neck's rim, for added support.
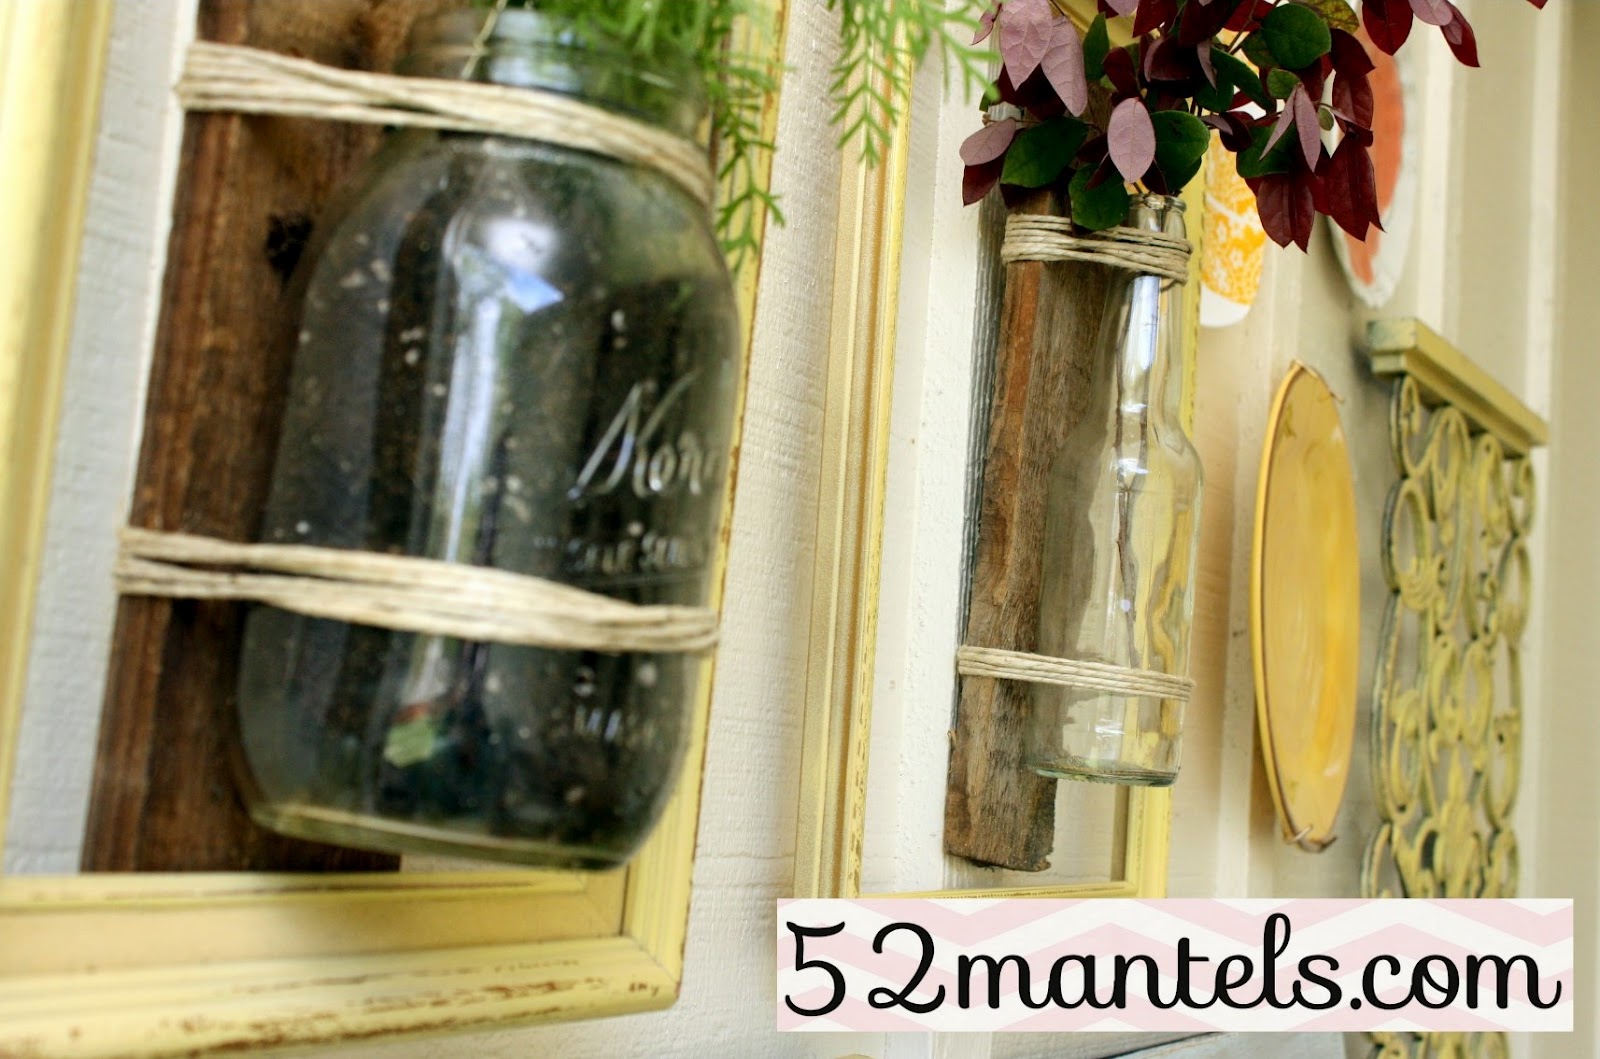
I chose to place a yellow, distressed frame in front of each vase. These were goodwill frames that got a quick coat of yellow spray paint, before being sanded and sealed.
I placed rocks at the bottom of my mason jars and then filled them with potting soil and herbs.
(Remember not to over water, as the jars have no drainage hole. If you have a drill bit for glass, you could make a hole in the bottom of the jar.)


(Like what you see? Follow 52 Mantels!)


 Follow 52 Mantels by Email
Yep! I link up!
Those are great! Very creative idea.
ReplyDeletei love these!
ReplyDeleteThat's really cute! This morning when I was on my walk, I thought about how cute grass in containers is. Funny Coincidence!
ReplyDeleteFun and simple! I love it!
ReplyDeleteLOVE this idea!! And so simple too!! Thanks for sharing!
ReplyDeleteSASSY!
ReplyDeleteThis is fabulous! I so wish that I had a place to put something like this! Can't wait until we move into a house, and then I totally will! ;-) Thanks so much for the tutorial.
ReplyDeleteJust love this project. Thanks for the great tutorial!
ReplyDelete:)
Linda
So cute!!
ReplyDeleteThe jars look great! You've got my wheels turning.
ReplyDeleteSharon @ mrs. hines class
I love this idea, I totally pinned it.
ReplyDeleteOh wow, Emily, I love these. And your tutorial is great - they look fairly easy to make. Thanks so much for sharing at our party this week.
ReplyDeleteThose are great! I'm going to try some of these for my back porch, thanks!
ReplyDeleteReally lovely! Of course I don't have any reclaimed wood hanging around, but still. . . This is my first visit to your blog, I found you through Live.Laigh.Rowe and I plan to subscribe to you as well. Thanks for sharing how you did this, great idea!
ReplyDeleteThose are SO CUTE!!! I love how you put frames around them! Very pretty! Thanks so much for sharing at Thursday's Temptation.
ReplyDeleteJill
This is so fantastic! Love how yours turned out, it's a total no fail looks amazing anywhere kind of project!!
ReplyDeleteghd flat iron
ReplyDeletelebron shoes
nike blazer pas cher
ralph lauren outlet
salomon shoes
michael kors handbags online
louis vuitton sacs
michael kors uk
michael kors handbags sale
michael kors handbags outlet
Merry Christmas and New Year 2017 Animated Images Merry Christmas and New Year 2017 Quotes in Italian New Year 2017 Funny Jokes In Japanese New Year 2017 Animated Greeting Images In Hebrew New Year 2017 Whatsapp DP Status Messages Quotes SMS In Hebrew New Year 2017 Wallpaper Free Download Merry Christmas Animated Images Merry Christmas Animated Gif Happy New Year 2017 Greetings in Hebrew
ReplyDeletecheap oakley sunglasses
ReplyDeletesupra shoes
toms shoes
cheap oakley sunglasses
cleveland cavaliers
dolce and gabbana
ralph lauren
michael kors outlet
coach handbags
air jordan uk
goyard bag
ReplyDeletepaul george shoes
red bottom heels
lebron 16 shoes
michael kors handbags
fila
yeezy boost 350
rolex replica
nike shox for men
coach outlet online